The present-day iPhone has functions that go beyond just receiving calls, making calls, or text messages. They are capable of other functions such as capturing images, receiving and sending emails etc. hence the reason for the name smartphone.
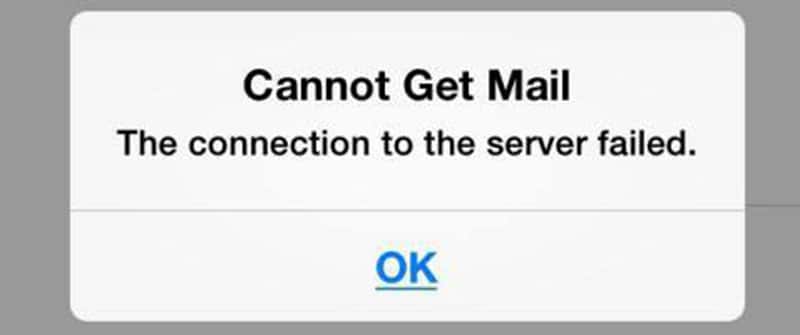
With the convenience the iPhone offers, what happens when an option such as receiving or sending emails stops working. That is, the iPhone cannot get mail because the connection to the server failed. Here, we explain some of the methods that can resolve this.
Method 1. Re-enter the Password
Seeing the message that your iPhone cannot get mail because the connection to the server failed, the first step requires checking your password. Most times, if you reset your email password on another device, you need to re-enter it on your iPhone before you can gain access to your email account.
Here’s how to do that:
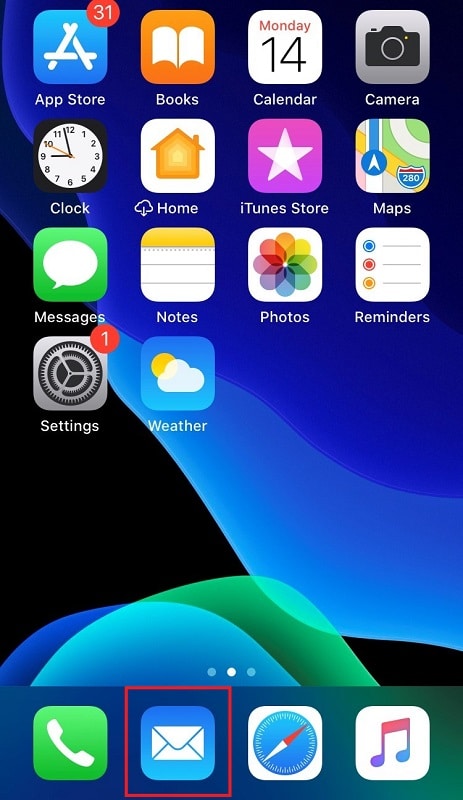
Step 1: Open the “Mail” app from your home screen.
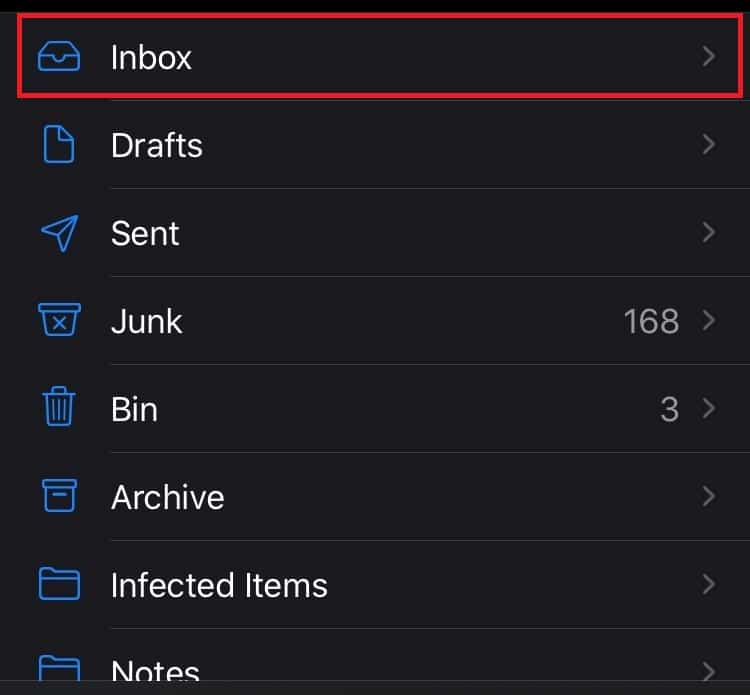
Step 2: Tap on “Inbox.”
Step 3: Check for an error message at the bottom of the inbox screen.

Step 4: Tap on “Details” beside the error message.

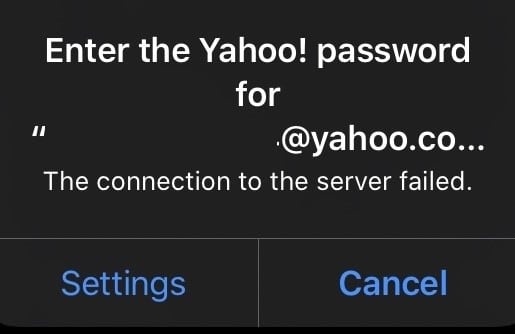
Step 5: Select “Settings” on the pop-out message.
Step 6: Tap the email address with the issue.
Step 7: Re-enter the password.
Method 2. Delete your email account and re-add it
If re-entering your password does not work, or you do not see the account error message on your mail, you may want to try deleting and re-adding the email account. Check out the following steps:
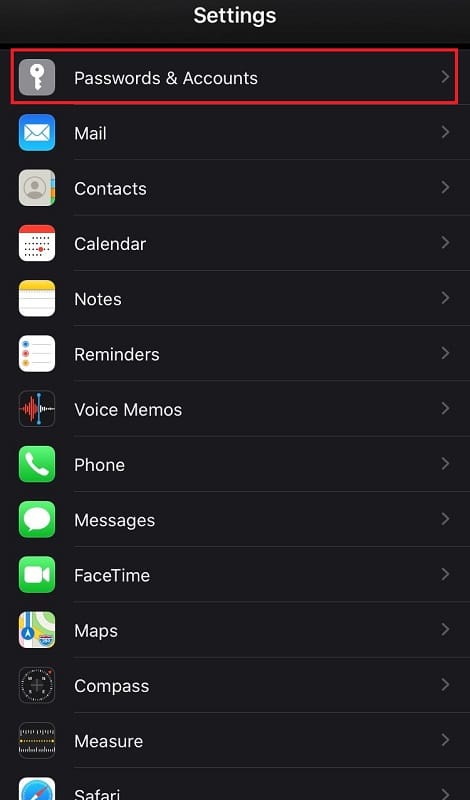
Step 1: From your home screen, open the “Settings” app.
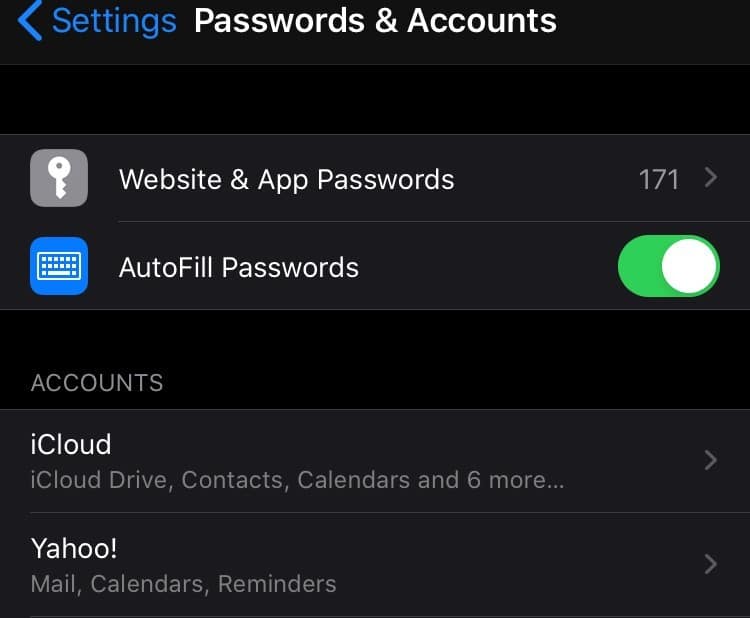
Step 2: Swipe down for the “Password & Accounts” option.
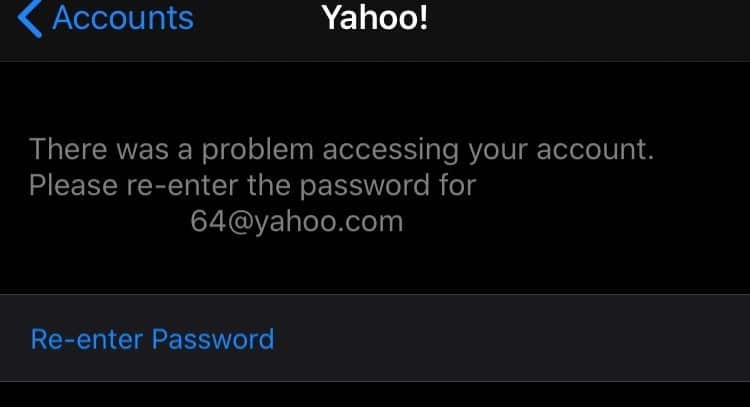
Step 3: Tap on the email account with the issue.
Step 4: You should see the “Delete Account” button. Tap this button to remove the email and its information from your device.

Step 5: Back on the Accounts page, scroll down till you see the “Add Account” option.
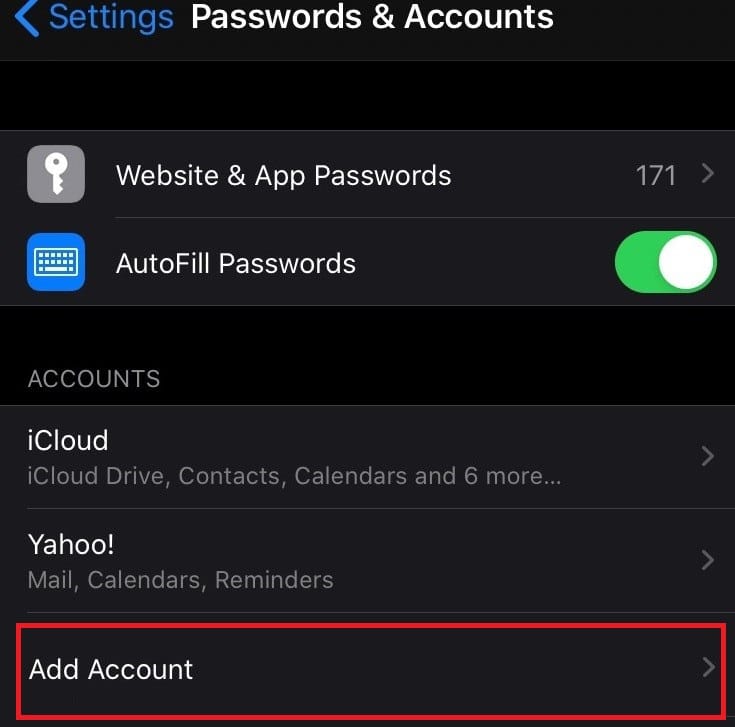
Step 6: Select the type of account.
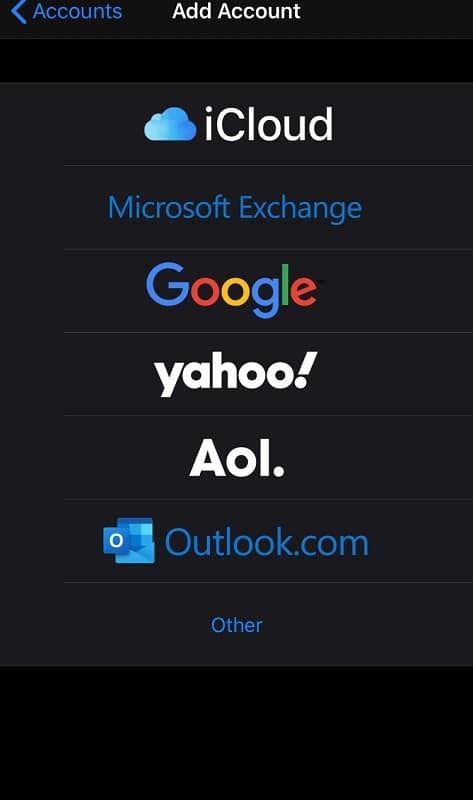
Step 7: Input relevant details such as username and password.
Try the next option below if deleting and re-adding your account does not work.
Method 3. Change the Network Connection (Wi-Fi or Mobile Data)
A reason why your phone has the cannot get mail as the connection to the server failed prompt might be your network connection. If your network isn’t strong or constantly disconnects before your mail server finishes loading, then you are likely to see the message.
To verify if your network is the problem, you should check and reset your network settings. Here’s how to do so:
Checking Your Wi-Fi Network
Step 1: Select the “Settings” app from your Home screen.
Step 2: Look out for “Wi-Fi.” If the message beside the “Wi-Fi” shows the name of the network it is connected to, but your phone still shows “cannot get mail as the connection to the server failed,” then this might be from the router.
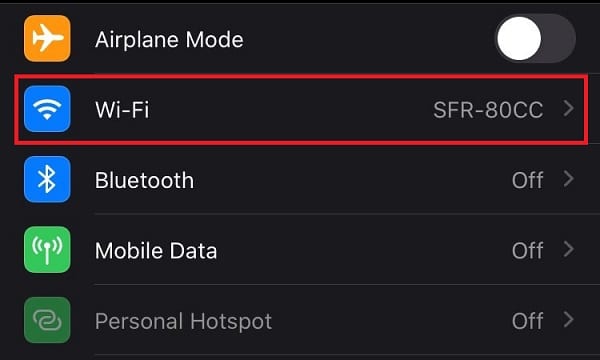
Step 3: Restart your router and try reconnecting again. If the same problem persists, turn off Wi-Fi on your iPhone as the problem might be from the service provider.
Switching to Mobile Data
Step 4: Go to the Main “Settings” Page.
Step 5: Tap “Mobile Data.”
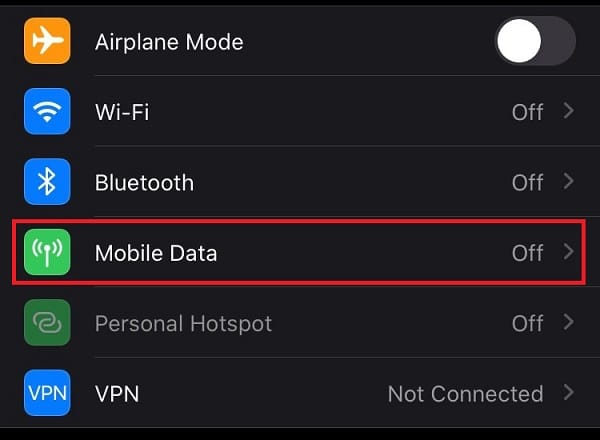
Step 6: Tap the toggle to activate mobile data.
Step 7: If your mail connection still fails with mobile data, then try resetting your network.
Resetting Your Network

Step 8: Go back to the “Settings” main page.
Step 9: Scroll down till you see the “General” option.
Step 10: Swipe to the bottom of the screen and tap “Reset.”
Step 11: Select the “Reset Network Settings” option. You may need to provide a passcode. In this case, enter your regular passcode to continue the process.
Step 12: You will get a confirmation prompt asking if you want to reset your network settings. Tap “Reset Network Settings” to confirm.
Once you confirm this message, the reset process will begin. After you reset the network, try connecting to a Wi-Fi network or putting on your mobile data. Open your email app to try loading your messages. Doing this will help you to know if the method worked or not. If it didn’t, don’t be worried, there are still a few solutions to try out.
Method 4. Change Microsoft Exchange Security Settings
If you use a Microsoft Exchange email, then cannot get mail the connection to the server failed may be a frequent occurrence. To resolve the issue, changing your Microsoft Exchange Security settings becomes necessary. However, you will need a PC for this.
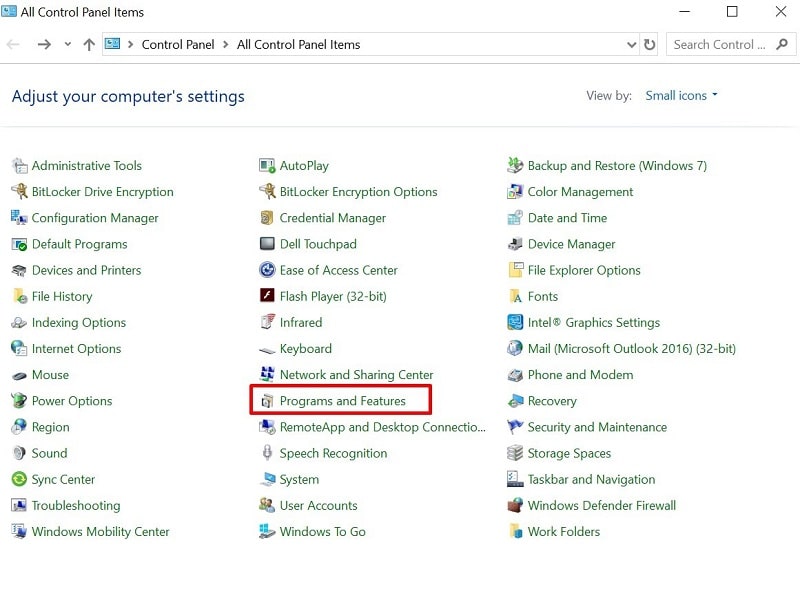
Step 1: Navigate to Control Panel on your PC.
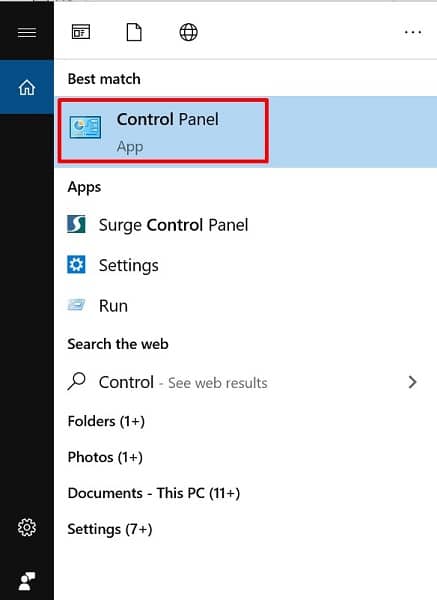
Step 2: Select “Program & Features.”
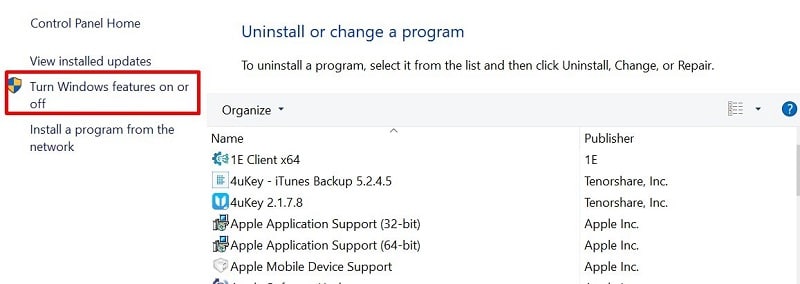
Step 3: Choose “Turn Windows Features On or Off.”
Step 4: Check that “Remote Server Administration Tools” has the tick sign. If the option is not on your PC, you need to install it and repeat steps 1 to 3 to tick it.

Step 5: After ticking, select “OK” and wait for the system to implement changes.
Step 6: Restart your PC.
Step 7: Search for “Active Directory Users and Computers” on your PC.

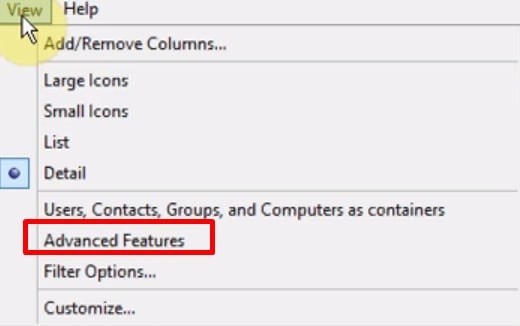
Step 8: Click “View” located at the top.

Step 9: Select “Advanced Features” to access all security settings for your email.
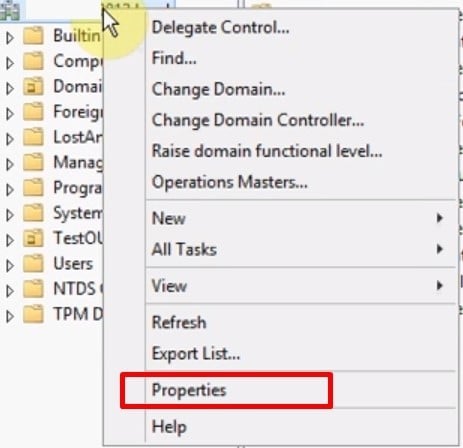
Step 10: Right-click on your email account and click on “Properties.”
Step 11: Click on “Security” and select “Advanced.”
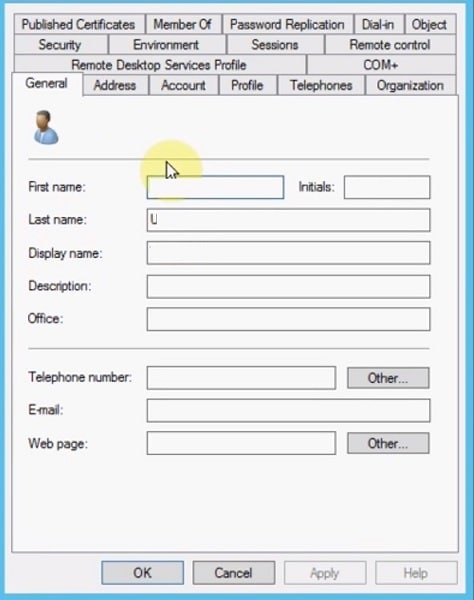
Step 12: Select “Inheritable Permissions.”
Once you do this, check if your phone still displays the “iPhone connection to server failed” message.
Method 5. Update iOS Firmware
If you have tried out all the solutions above and still have the problem, you need something different. One of the best options is to update the iOS firmware on your device. To do this, try using third-party software Tenorshare ReiBoot and follow the steps below:
Step 1: Download Tenorshare ReiBoot to your PC and install it.
Step 2: Once the download finishes, install and run the program.
Step 3: Plug your iPhone to the PC using a data USB cable. Make sure that the app recognizes your device.
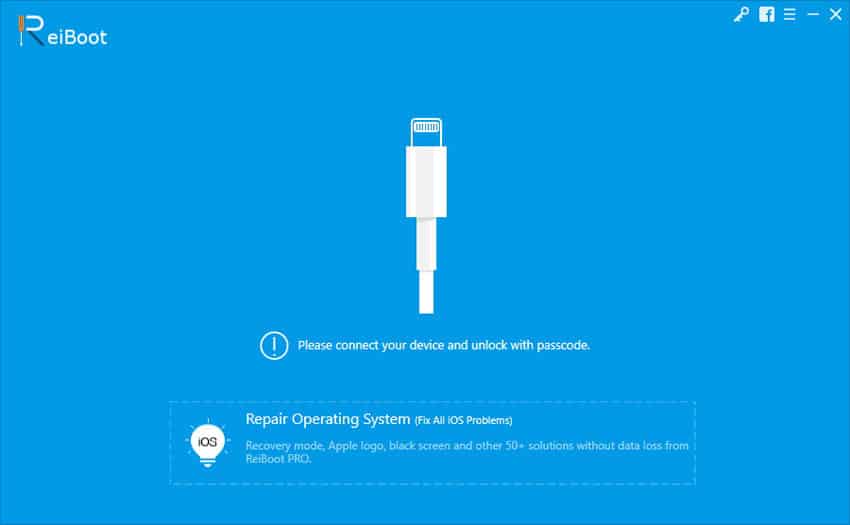
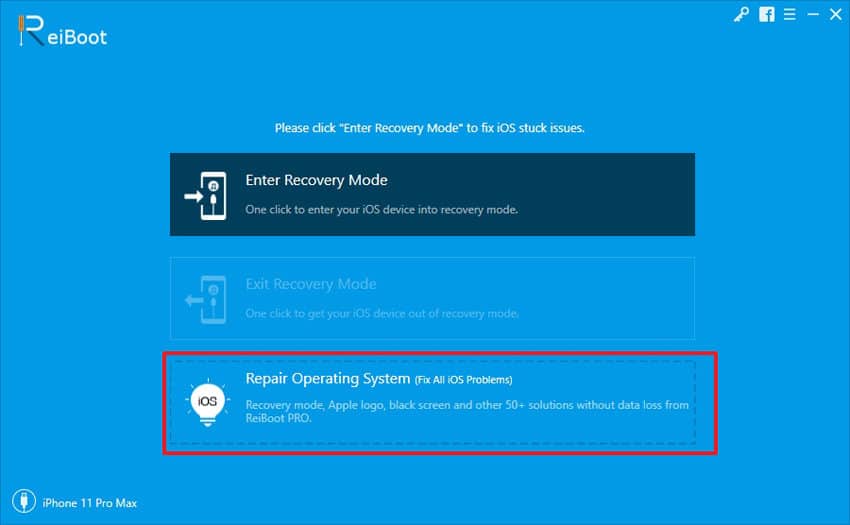
Step 4: On the homepage of Tenorshare, you will see three options. Click on “Repair Operating System.”
Step 5: Select “Fix Now” on the new page.
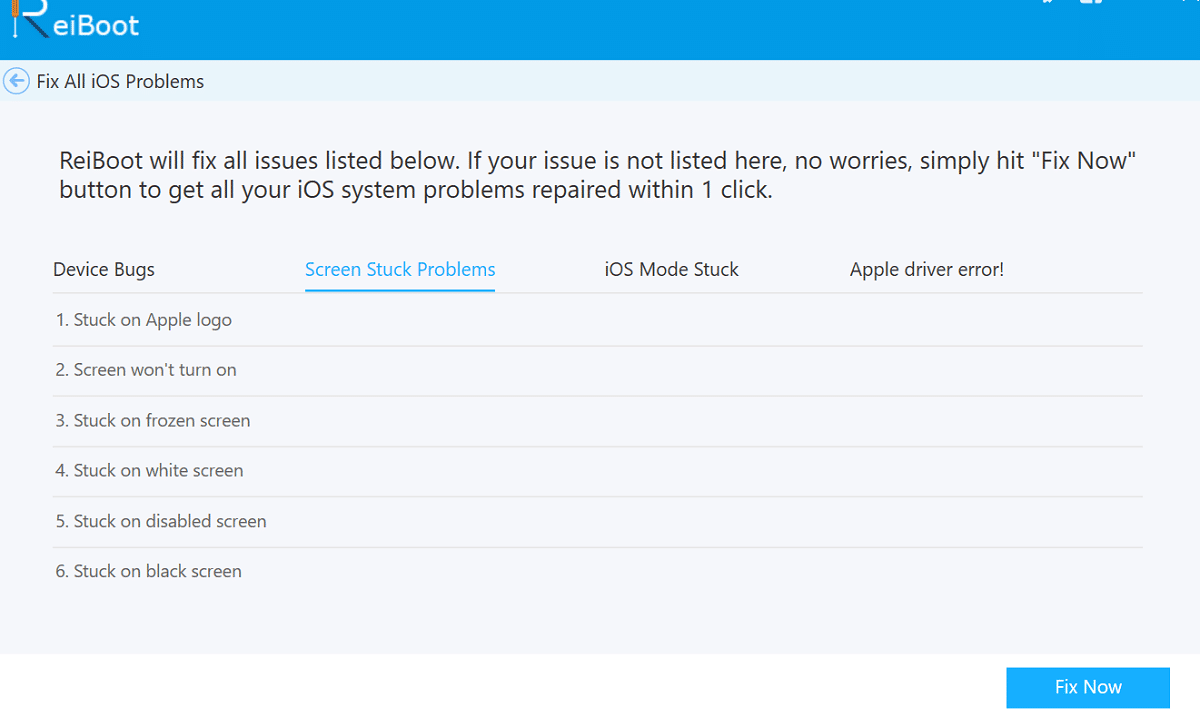
Step 6: The app should take you to a new page to download firmware.
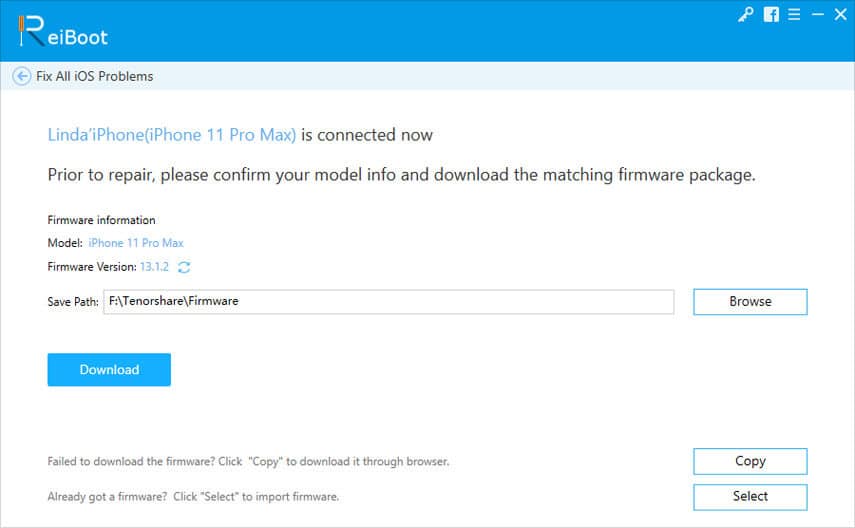
Step 7: After downloading the latest firmware, click “Start Repair” to fix your device.
Once the process ends, your device should restart.
Also Read:
Conclusion
If the above methods do not solve your issue of connecting to the mail server, you may have to visit a repair shop. Do you think we missed out on other methods? Do let us know in the comments section.

